Attaching the EAF to the Telescope (Step 3)
For astrophotography scopes (except smart scopes), focusing is usually manual. So if you want to use autofocus, you need to install an external EAF (Electronic Automatic Focuser) system as an additional accessory.
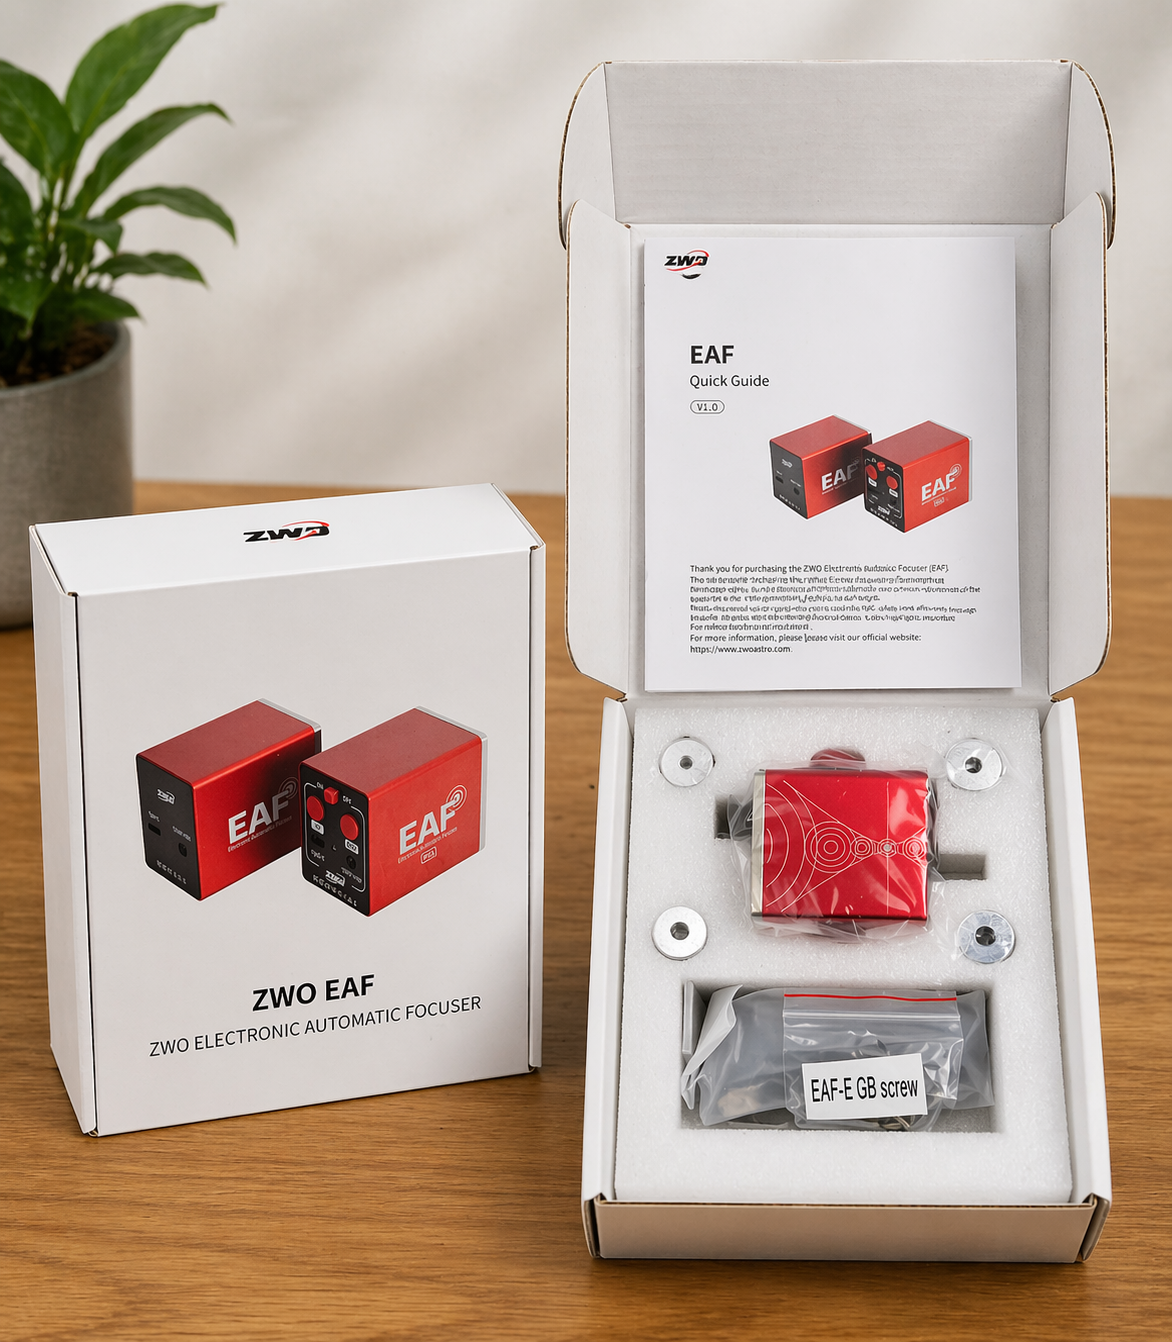
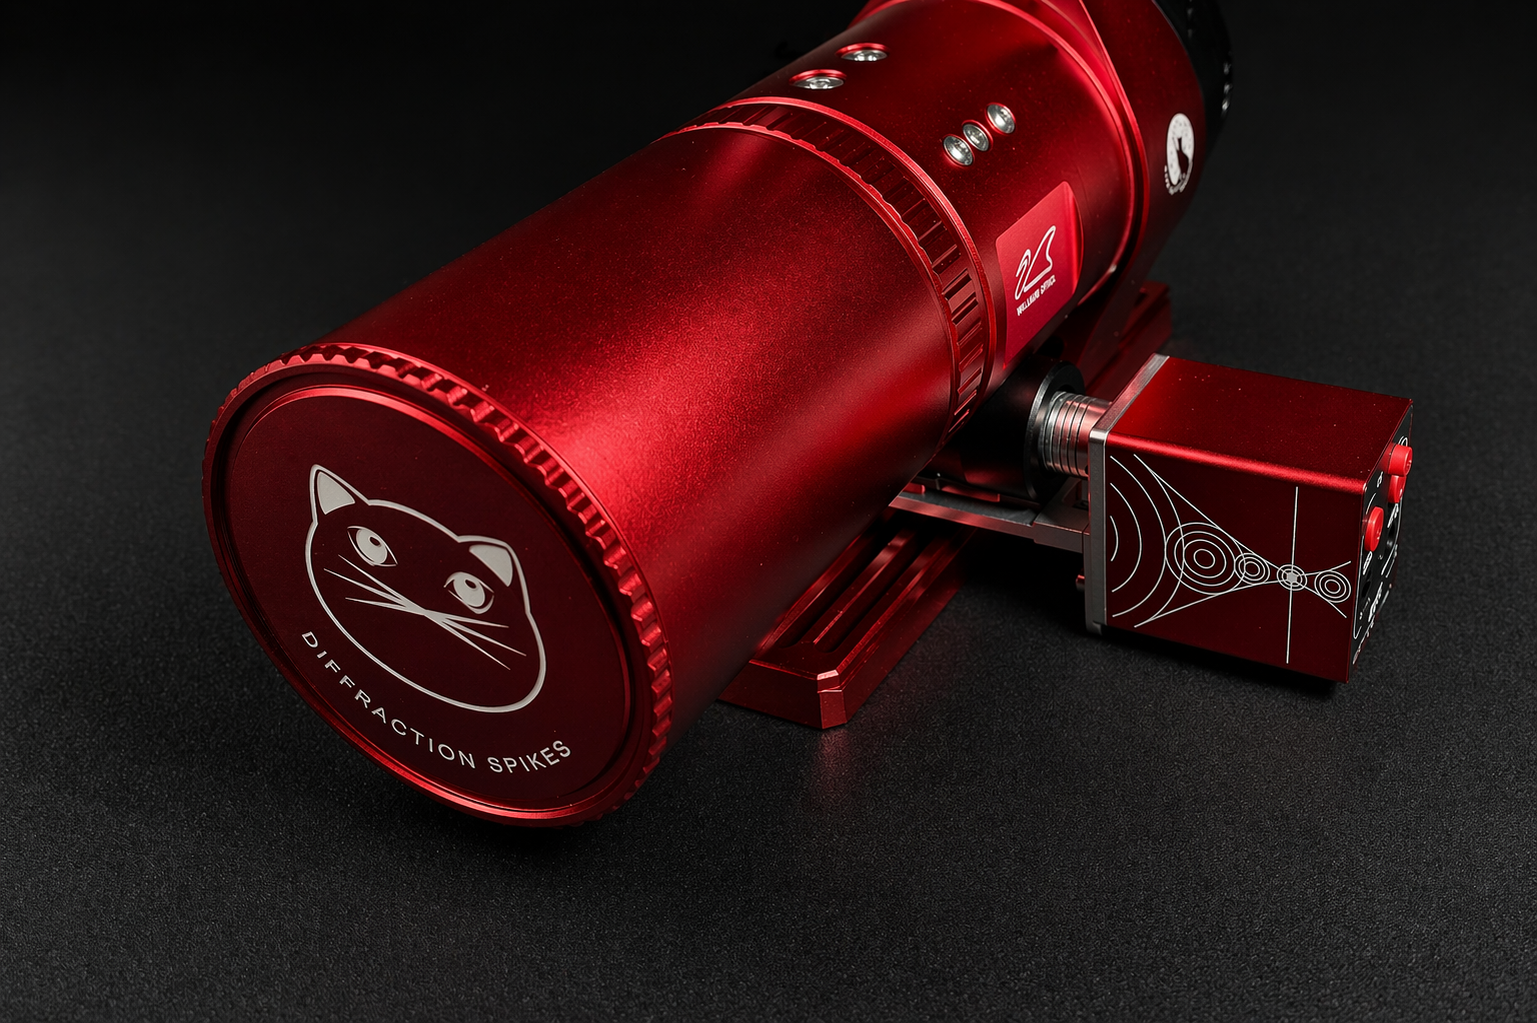
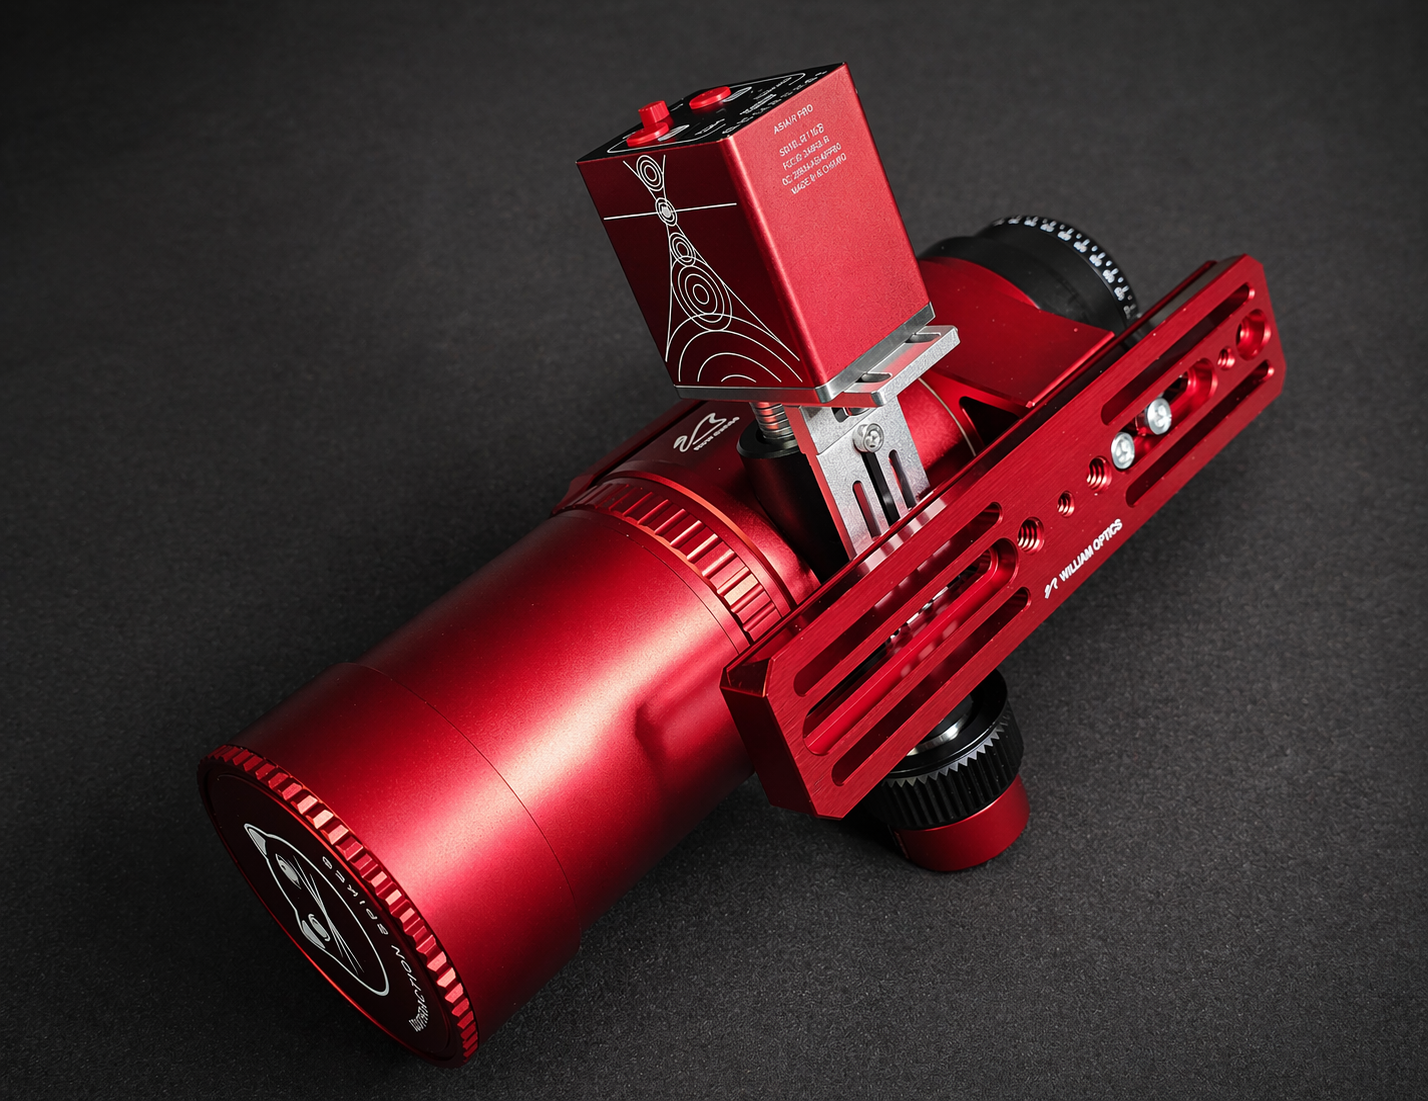
I personally use the ZWO EAF Pro. Since it’s the Pro version, it also includes two manual control buttons on the EAF body, which is quite convenient. Because I had to install it myself, I carefully went through the manual and repeatedly watched YouTube tutorials to avoid any mistakes. Even then, I still felt a bit nervous about possibly messing something up until everything was fully installed.
At this stage, only the hardware setup is complete. Calibration still needs to be done later after connecting it to the ASIAIR, so I can’t fully relax just yet.
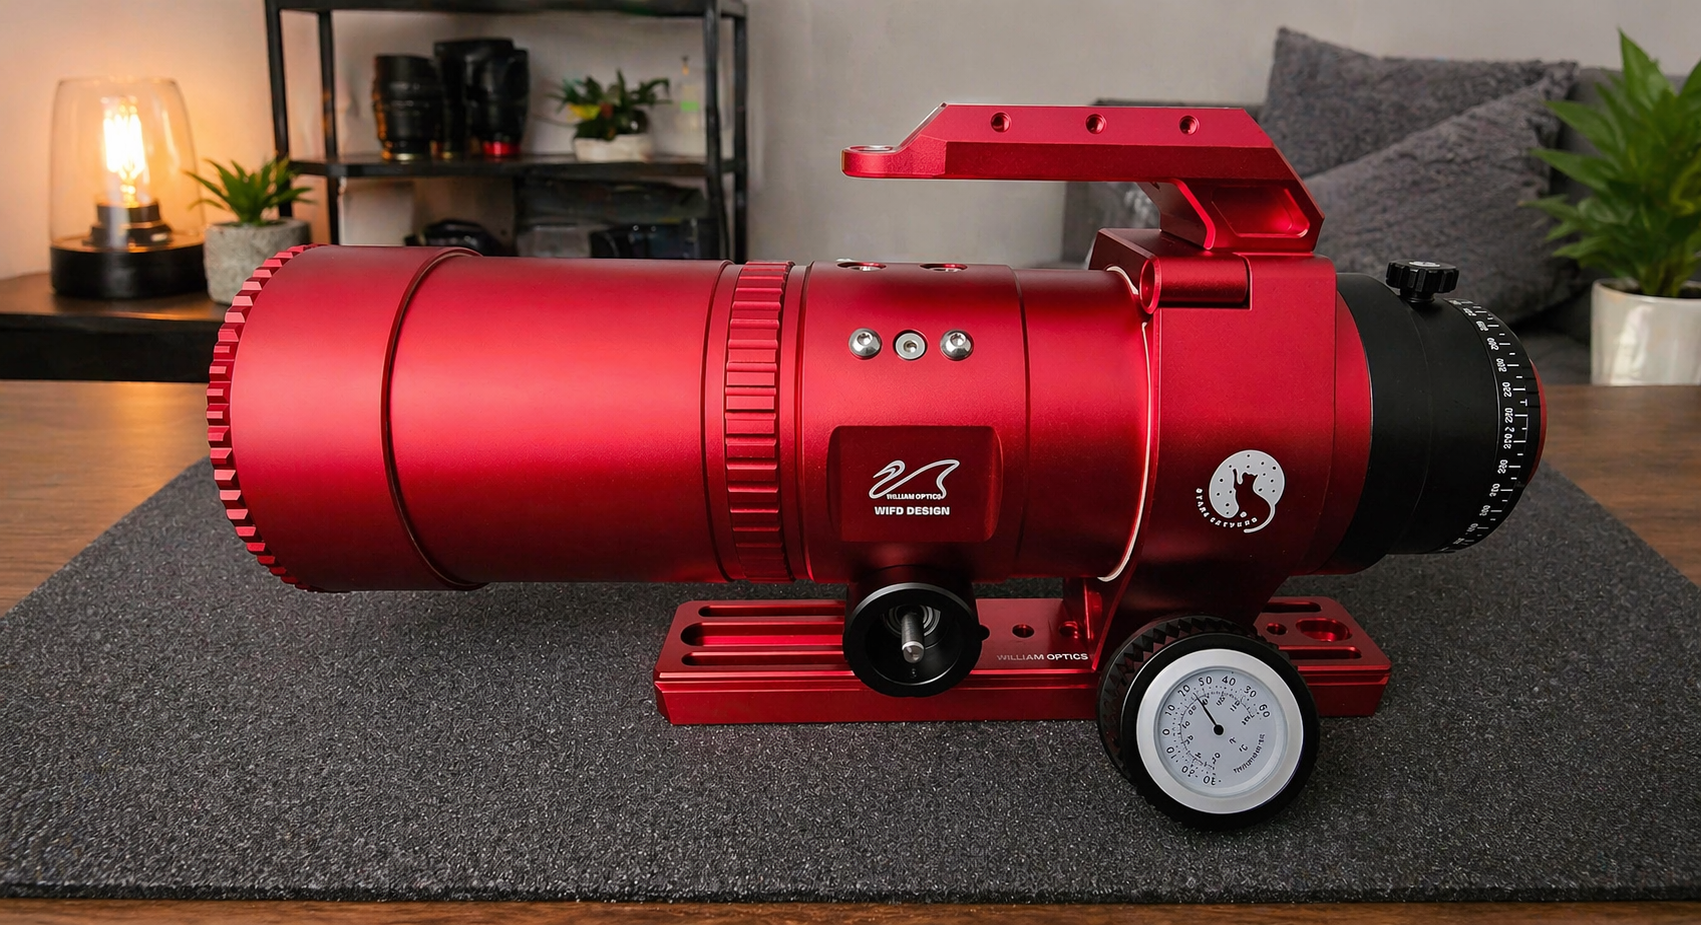
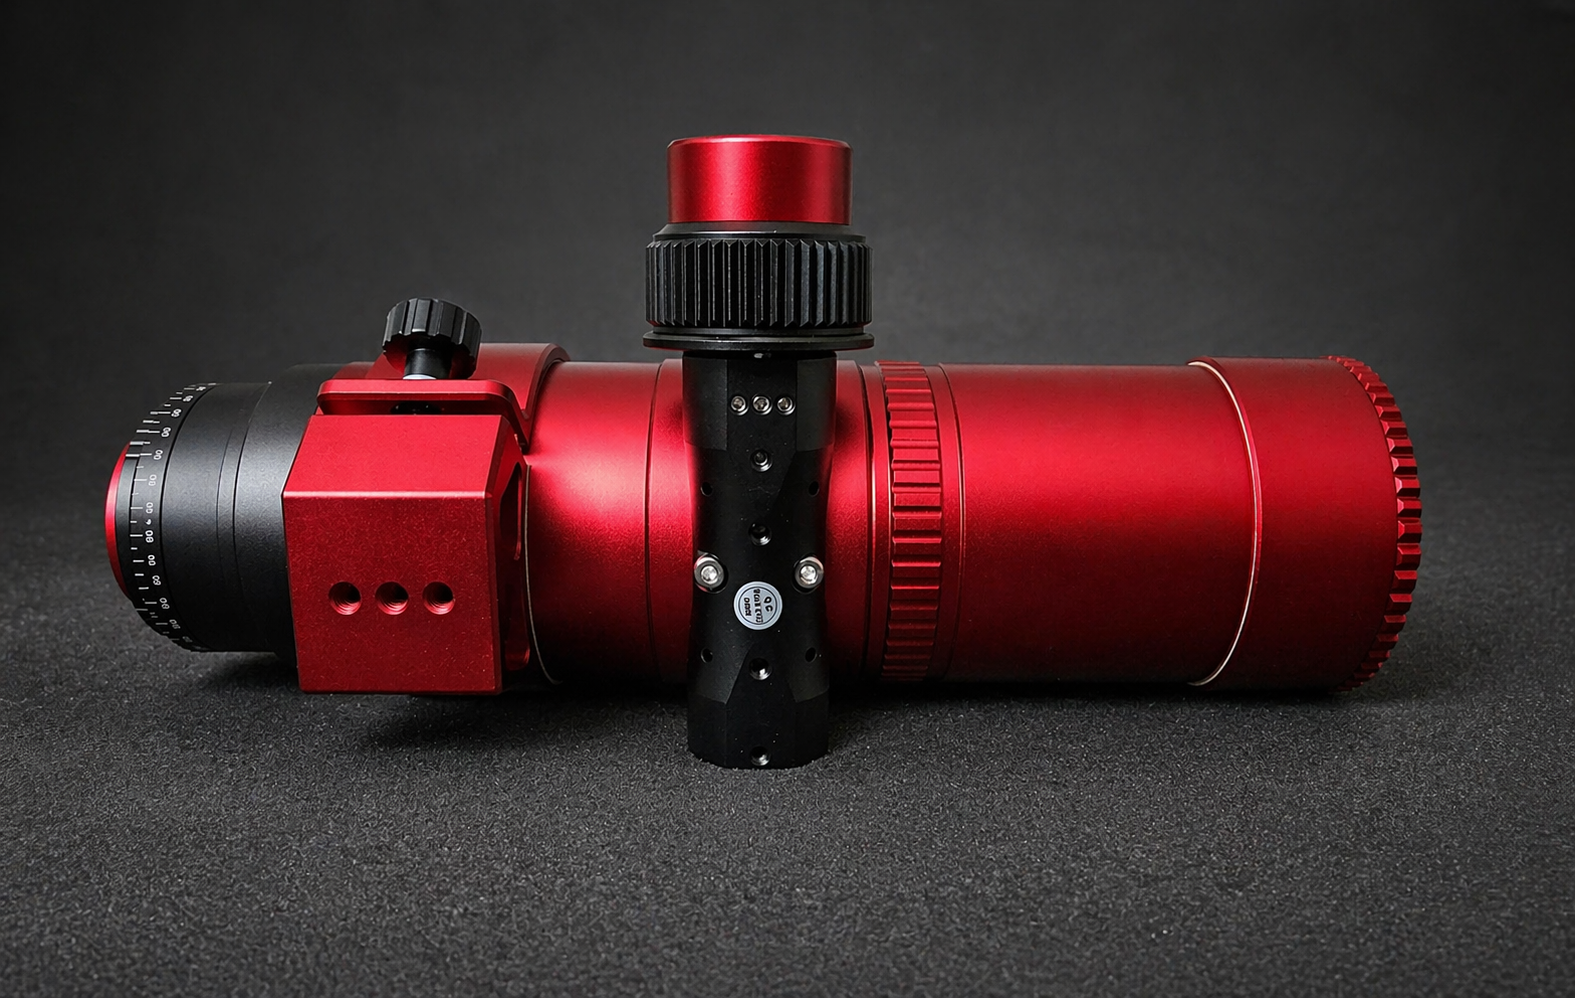
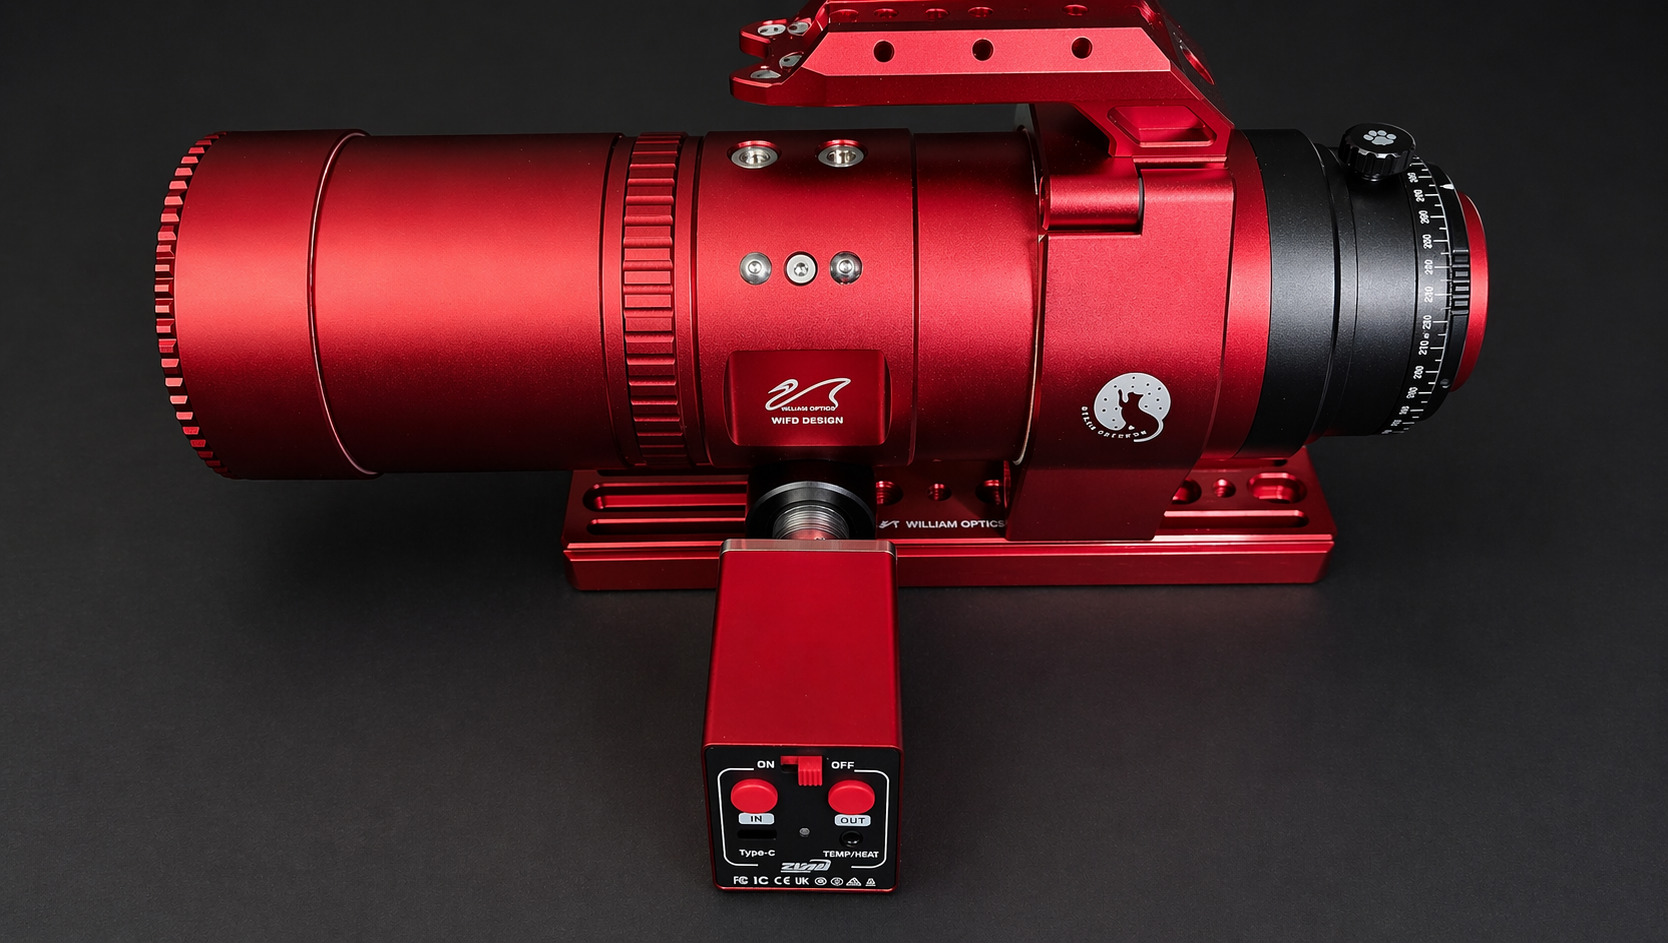
One thing that made my setup much easier is that my RedCat 51 (Version 3) already comes with a compatible EAF mounting bracket. That means I didn’t need to make any modifications at all—I could just attach it directly. In earlier versions, you had to buy a third-party housing to mount the EAF.
Another improvement is the connection design. Instead of directly coupling the shaft with a coupler, this version uses a belt-driven system. Also, since the scope now has an internal focusing design, it no longer suffers from tilt issues like the older versions.
As a friend advised me, patience is key during every step of the assembly process.
Right now, the total weight of the scope combined with the EAF is about 6.5 lb.
Everything is still new to me, so I originally planned to finish installing the camera and ASIAIR this weekend. However, I realized I ordered the wrong adapter rings, and the cable management accessories I ordered haven’t arrived yet (they’re still shipping from Canada). Because of that, I’ll have to wait until everything arrives—so testing will likely have to wait until next weekend.
Clear skies and happy observing…..
EAF

EAF
EAF
EAF

EAF

EAF

EAF
EAF
EAF
EAF

EAF
Astrophotography အတွက်သုံးတယ့် scope (except smartscope) တွေက manual focus တွေမို့လို့ auto focus အနေနဲ့သုံးချင်ရင် EAF system ကို additional အနေနဲ့ external ကနေတပ်ဆင်ပေးရမှာပါ။
ကျွန်တော်ကတော့ ZWO brand EAF pro ကိုသုံးပါတယ်။ Pro version မို့လို့ EAF body မှာ manual အတွက် button နှစ်ခုထပ်ပါလာပါတယ်။ ကိုယ်တိုင်တပ်ဆင်ရမှာမို့လို့ အမှားအယွင်းမရှိရလေအောင် manual နဲ့ youtude က clips တွေအခေါက်ခေါက်အခါခါကြည့်ပြီး ပြင်ဆင်ပါတယ်။ ဒါတောင်တစ်ခုခုဖြစ်သွားမလားဆိုတယ့် စိုးရိမ်စိတ်က နောက်ဆုံးပြီးပြည့်စုံအောင် တတ်ဆင်ပြီးသွားတယ့်အချိန်အထိရှိနေခဲ့တာပါ။ ဒါက တကယ်တော့ hardware အပိုင်းပဲပြီးသေးတာပါ calibration အပိုင်းအတွက်က ASIAIR တပ်ပြီးတယ့်အချိန်အထိစောင့်ပြီးမှ လုပ်ရမှာမို့လို့စိတ်ချလက်ချတော့နေလို့မရသေးပါဘူး။
ကျွန်တော့်အတွက်အရမ်းအဆင်ပြေသွားစေတာတစ်ခုကတော့ လက္ခံရရှိတယ့် Red Cat 51 scope က version 3 မို့လို့ EAF system ကိုသူ့မှာပါလာတယ့် bracket နဲ့ဘာ modification မှလုပ်စရာမလိုပဲတန်းပြီးတပ်လို့ရတာပါပဲ။ အရင် version တွေတုန်းကဆိုရင် third party housing ကိုထပ်ဝယ်ပြီးတပ်ရတာပါ။ နောက်ပြီး connection ကအခုလိုမျိုး coupler ကို shaft နဲ့တိုက်ရိုက်ဆက်သုံးတာမဟုတ်ပဲ belt ကြိုးနဲ့တပ်သုံးရခြင်းပါပဲ။ Scope ကလည်း internal focusing design ဖြစ်သွားတာမို့လို့ အရင် version တွေလိုမျိုး tilt ဖြစ်စေတယ့် issue လည်းမရှိတော့ပါဘူး။
အသိမိတ်ဆွေသတိပေးခဲ့သလိုပဲ assembly အဆင့်တိုင်းကို စိတ်ရှည်ရှည်ထားပြီးလုပ်မှအဆင်ပြေမှာပါခင်ဗျ။ လောလောဆယ် scope နဲ့ EAF တွဲထားတယ့် အလေးချိန်က 6.5 lb ပါ......
အစစအရာရာ အတွေ့အကြုံအသစ်တွေချည်းမို့လို့ အခုလည်း ဒီ weekend မှာ ကင်မရာရော ASIAIR ပါအပြီးတပ်မယ်လို့စီစဥ်ထားပေမယ့် adapter ring တွေဝယ်ထားတာမှားနေတာရယ်၊ cable management အတွက်မှာထားတယ့်ပစ္စည်းတွေကလည်း Canada ကနေမပို့သေးတာတွေရယ်ကြောင့် အဲ့ပစ္စည်းတွေရောက်လာတယ့်အထိစောင့်ရမှာမို့လို့ လာမယ့် weekend ကြမှပဲစပြီးစမ်းလို့ရနိုင်မယ်ထင်တာပဲခင်ဗျ.....
မိုးသားကင်းစင်ကြည်လင်သောညများ ဖြစ်ပါစေ — အမြင်ကောင်းများနှင့် အောင်မြင်သော observation များရရှိပါစေ.....